![OA_Logo-600x600-1.png]](https://www.omnially.com/hs-fs/hubfs/OA_Logo-600x600-1.png?height=40&name=OA_Logo-600x600-1.png)
Where to find it: Projects → select a project → Associated Devices
The Associated Devices section links physical screens to a Project and shows them all in one place. It gives administrators and project managers a single view of every screen, media player, and display assigned to that installation.
It’s especially useful for:
• Monitoring device status
• Managing multi-screen installations
• Verifying device assignments
• Troubleshooting deployment issues
• Keeping project records accurate
Before You Begin
Before managing associated devices:
• Make sure the device has been added to the platform.
• Verify you have permission to manage Projects and Devices.
• Confirm the Project has already been created.
Accessing Associated Devices
To Open Associated Devices
1. Navigate to Projects.
2. Open the Project you want.
3. Select Associated Devices.
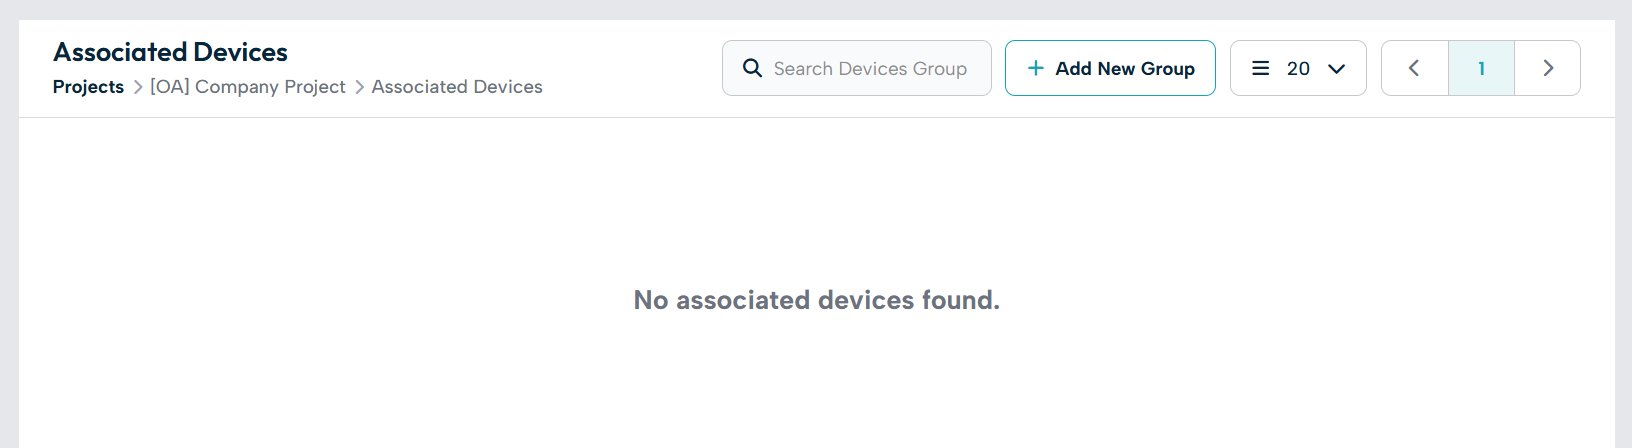
4. The page displays all devices currently linked to the Project.
How the List Is Organised
Associated devices are organised in two levels: named groups at the top, with the individual devices nested inside each one. Groups let you arrange a Project’s screens in a way that mirrors the real site.
Reading the List
Each group row shows the group name and a combined status icon: green when every device inside is online, and red or grey when at least one device is offline or has an issue. Expanding a group reveals its devices.
Each device row beneath shows:
|
Information |
Description |
|
Device name |
The name assigned to the device (a link to its own page). |
|
Status |
Current connection status. |
|
Model |
The device’s model or type. |
|
Group |
The group the device belongs to within the Project. |
Device Groups
Groups organise the devices within a Project (for example, by location (Main Lobby, Reception Area, Event Center), by function (Donor Recognition, Digital Signage, Interactive Displays), or by department. Grouping makes it easier to locate devices, monitor installations, organise large deployments, and troubleshoot.
Important A device can belong to only one project group at a time, across all Projects. Adding a device to a group here automatically removes it from any group it was in before.
Creating a Group
1. Open Associated Devices.
2. Use Add New Device Group in the header.
3. Enter a name (group names must be unique within the Project).
4. Save the group.
Renaming and Deleting Groups
You can rename a group at any time. Deleting depends on whether the group holds any devices:
• Empty group: removed immediately after you confirm.
• Group with devices: you’re asked to move its devices to another group first; the empty group is then removed.
Adding Devices to a Project
Associating devices keeps an accurate record of the equipment installed at a location, which improves reporting, support, and long-term management. Devices are added into a group.
To Add Devices
1. Open Associated Devices.
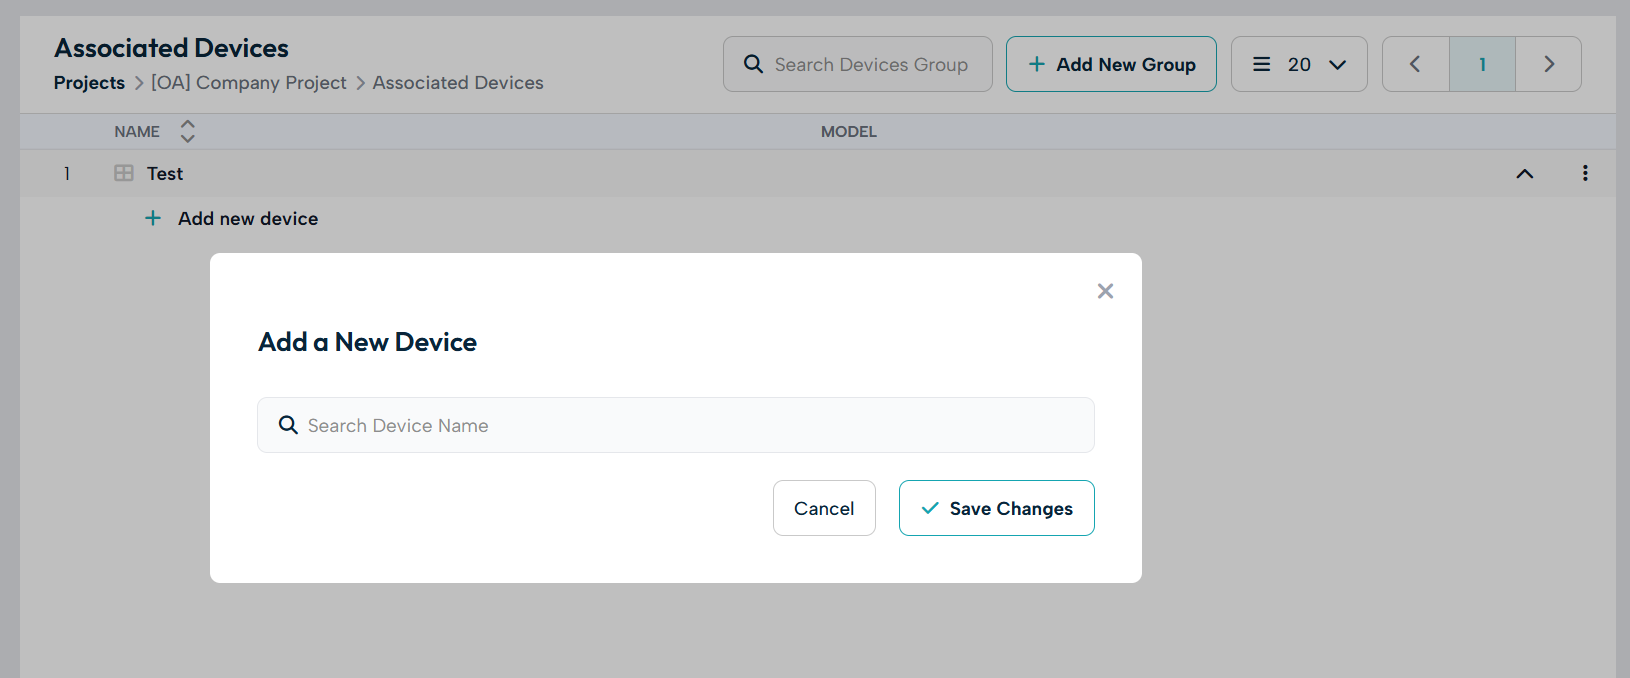
2. In the group you want, select the Add new device row at the bottom of the group.
3. Search by serial number, location, or type.
4. Select one or more devices: you can add several at once.
5. Save your changes.
Note Devices already assigned to a project group won’t appear in the search results, since each device can be in only one group at a time.
Moving and Removing Devices
As an installation changes, you can move a device to a different group or remove it from the Project entirely.
• Move: search for the destination group and transfer the device there.
• Unlink: remove the device from the Project after confirming.
Note Removing a device from a Project doesn’t delete it from the platform. The device remains available and can be added to another Project (or another group) later.
Monitoring Device Status
Associated Devices lets you review the health of every device assigned to a Project at a glance.
|
Status |
Meaning |
|
Online |
Connected and communicating normally: can receive content updates, report status, and process remote actions. |
|
Offline |
Not currently communicating with the platform. |
|
Suspended |
Manually paused. It keeps showing its last content but stops reporting to the platform. |
|
Pending Approval |
The device has connected but hasn’t yet been approved for use. |
If a device is offline (usually due to a network interruption, power outage, or hardware issue), start by checking that it’s powered on and connected to the network. A device that’s Pending Approval should be reviewed and approved before content is assigned.
Opening Device Details
Any device in the list can be opened directly by clicking its name. This opens the Device Details page, where you can access the device’s status, live preview, actions, activity history, notes, and settings.
Tip For everything you can do on that page, see the Managing a Device article.
Best Practices
• Associate devices early. Add devices to the Project as soon as installation begins.
• Use consistent device names. clear names (like Main Lobby Display or Foundation Donor Wall) make devices easier to identify.
• Organise devices into groups. Grouping improves visibility and simplifies management.
• Review offline devices promptly. Investigate communication issues quickly to minimise downtime.
• Keep assignments current. Remove devices that are no longer part of the installation, and add new ones as they’re deployed.