![OA_Logo-600x600-1.png]](https://www.omnially.com/hs-fs/hubfs/OA_Logo-600x600-1.png?height=40&name=OA_Logo-600x600-1.png)
Where to find it: Objects → Tables → New Table, or click a table to edit
This article covers creating a table, finding your way around the editor, controlling who can see a table, and saving your work. The content of a table (its columns and rows) is covered in Columns & Rows.
Creating a Table
To Create a Table
1. On the Tables page, choose to create a new table.
2. Enter a Name (required, and unique within your company).
3. The Endpoint is filled in automatically from the name: a short reference other parts of the dashboard use. You can adjust it, but it can only contain letters, numbers, and hyphens.
4. Optionally choose a CSV file to import straight away (see CSV Import & Export).
5. Save to create the table and open the editor.
Note If you import a CSV, the table is filled from it immediately. If you don’t, the table starts with a single text column and one empty row, ready for you to build on.
The Table Editor
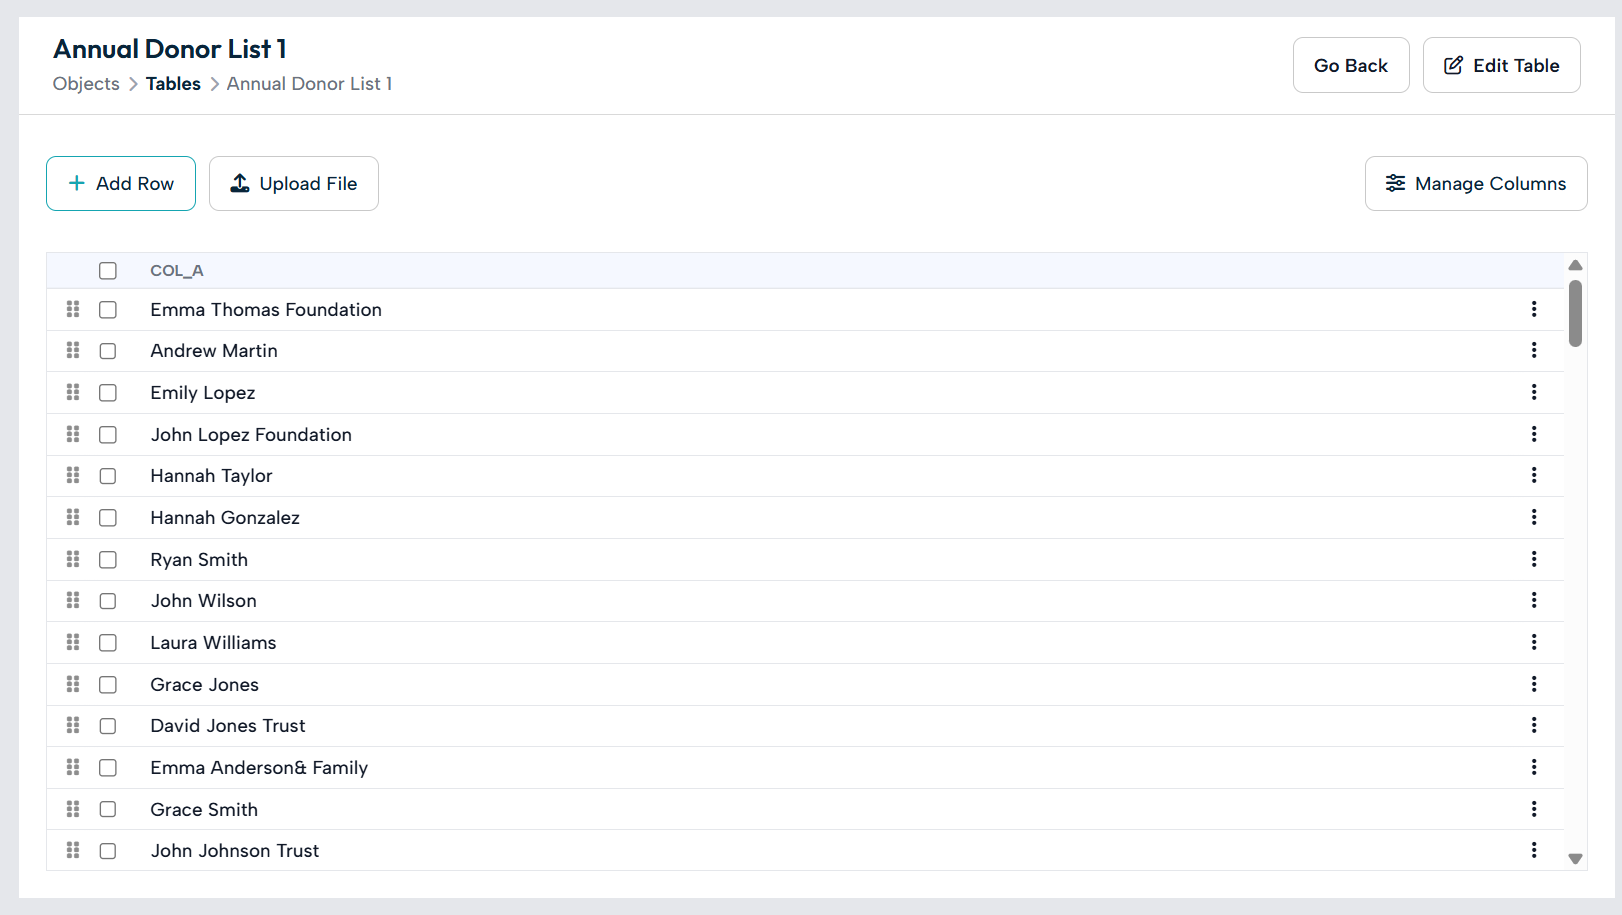
The editor is a spreadsheet-style grid where you add, edit, reorder, and remove rows and columns freely. Across the top are a few controls for the table as a whole:
|
Control |
Who sees it |
What it does |
|
Name |
Everyone |
Rename the table. |
|
Authorized Users |
Administrators |
Choose which regular users can see the table. |
|
Company |
Administrators |
Move the table to a different company. |
|
Endpoint |
Everyone |
The table’s reference name. Shown for reference and can’t be changed after creation. |
Controlling Who Can See a Table
The Authorized Users control decides which regular users can access a table:
• Select individual users to give just those people access.
• Choose the Hide from users option to keep the table hidden from all regular users.
• Leave it unset to fall back to the standard access rules for your company.
Note Administrators always see the table regardless of this setting — it controls access for regular users.
Saving Your Work
Two save options control how far your changes reach:
|
Option |
What it does |
|
Save changes |
Saves the table and refreshes any designs that use it, without pushing to devices yet. |
|
Save and update devices |
Saves, refreshes the designs, and sends the update out to every device linked to the table. |
While the table saves, a progress bar shows how the save and any image uploads are going. Please don’t navigate away until it finishes; when it’s done, the editor reloads (or returns you to the device page, if you opened the table from one).
Best Practices
• Choose a clear endpoint. It can’t be changed later, so pick something recognisable when you create the table.
• Draft, then update devices. Use Save changes while you’re still editing, and Save and update devices when the content is ready to go live.
• Set access deliberately. Use Authorized Users to share a table with the right people, or hide it while it’s a work in progress.