Where to find it: Manage → Devices → select a device → Edit Device
The Edit Device form is where you change how a device is set up: most often, what content it’s allowed to display, what extra features it runs, and who can access it. Configuring these correctly keeps devices secure, organised, and aligned with your content policies.
This article covers the areas you’ll use most:
• Device identification and groups
• Allowed content
• Modules (extra features)
• Users and companies (who can access a device)
• Device approval
Note Some settings are available only to users with elevated permissions. Where a section is limited to senior administrators, it’s noted below.
Before You Begin
Before modifying device settings:
• Confirm you have administrative permissions.
• Verify the device has already been added to the platform.
• Understand your organisation’s device management policies.
Accessing Device Settings
To Open Device Settings
1. Navigate to Devices.
2. Select the device you want to manage.
3. Open the device’s settings (Edit Device).
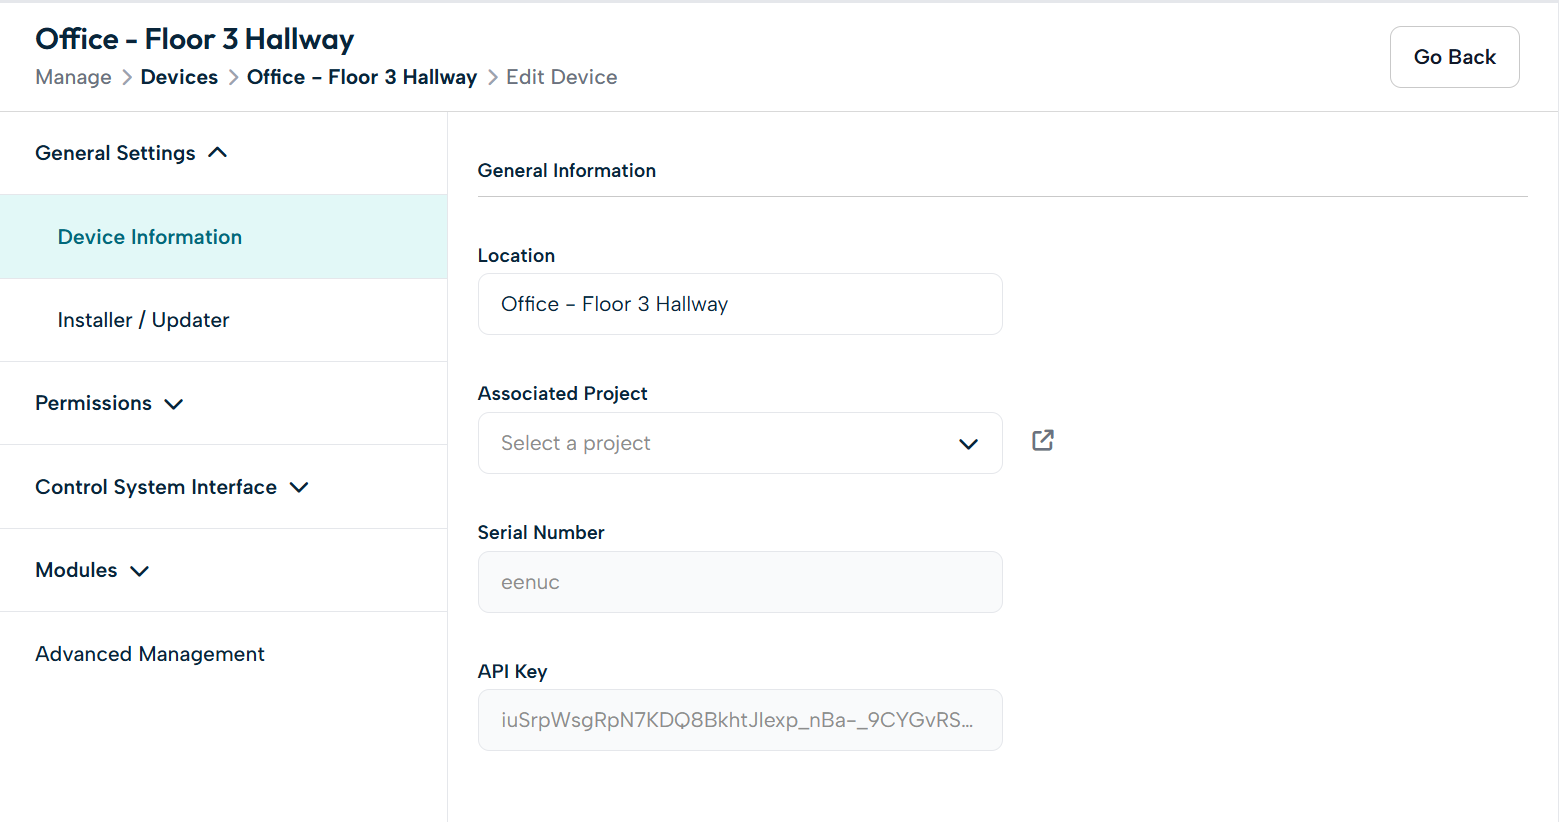
Device Identification and Groups
Device Name
The device name identifies the device throughout the platform. Use names that clearly capture location, function, or department.
|
Use names like… |
Avoid names like… |
|
Main Lobby Display |
Screen 1 |
|
Donor Recognition Wall |
Device A |
|
Event Center Kiosk |
Untitled |
Device Groups
Device groups organise devices into logical collections — by location, purpose, or department — which makes larger deployments easier to manage and troubleshoot.
To assign a device to a group
1. Open the device settings.
2. Locate the Device Group setting.
3. Select the appropriate group.
4. Save your changes.
Allowed Content
This setting controls which designs a device is allowed to display, helping ensure devices only receive approved content. It’s useful for keeping content separate by department, preventing accidental publishing, and maintaining standards.
Where to find it: device settings → Permissions → Canvases / Application Containers
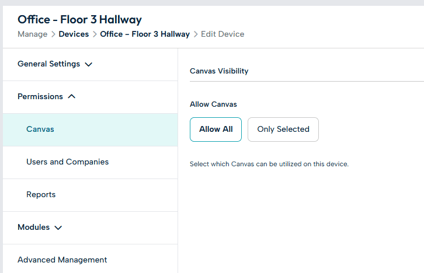
By default, Allow All lets the device use any available content. Switching to Only Selected limits it to a list you choose:
• Add items by searching for them by name and selecting them.
• Remove an item with the × beside it. It stays in the system and can be re-added at any time.
Important Switching back to Allow All and saving clears all your restrictions, so do it deliberately.
For example, a donor recognition display might be limited to donor Canvases, fundraising campaigns, and sponsor content, while a lobby display is limited to announcements, event schedules, and marketing content.
Modules (Extra Features)
Modules are optional add-ons that expand what a compatible device can do. You can add an existing module or upload a new one, edit a module, or unlink one from the device.
Note Modules are available to senior administrators only. After saving a module change, run an Update Device action to send the change to the hardware.
Users and Companies
This is where you control who owns a device and who can access it. Rather than per-user permission tiers, access works through two settings: company ownership and a user whitelist.
Where to find it: device settings → Permissions → Users and Companies
Company Owners
Company Owners is shown as a tree of your company structure. Ticking a company assigns ownership of the device to that account, which in turn governs what content the device can use. Senior administrators can assign a device to any company; regular administrators can assign only within their own company and its sub-companies.
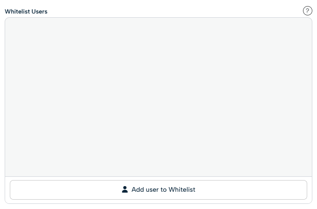
Whitelist Users
The whitelist grants access to specific non-admin users. Administrators of the owning company always have access automatically, so they don’t need to be added here.
To grant a user access
1. Open the device settings and go to Users and Companies.
2. Click Add user to Whitelist.
3. Search by name and select one or more users.
4. Confirm, then Save Changes.
To remove a user, click the × on their row, then save.
Important The whitelist is fully replaced each time you save — anyone not on the list at the moment you save will lose access. Always confirm the complete list before saving.
Controlling Who Can Manage a Device
Not every user needs access to every device. Limiting access through company ownership and the whitelist improves security, reduces accidental changes, and simplifies administration.
For example, a regional administrator might manage only the devices owned by their facility’s company, while a fundraising team is whitelisted on donor recognition displays and the marketing team manages promotional signage — each seeing only the devices relevant to them.
Best Practices
• Assign access by responsibility. Base ownership and whitelisting on job role rather than individual preference.
• Review access regularly. Periodically check device ownership and whitelists so they stay current, and remember the whitelist is replaced in full on each save.
• Remove access that’s no longer needed. Take users off the whitelist when they no longer require it.
• Use consistent naming. Clear, consistent names make management easier as deployments grow.
• Limit elevated access. Grant senior-administrator capabilities only when necessary.
• Review pending devices promptly. Approve and configure new devices as soon as possible.
• Document your policies. Establish clear guidelines for who can access and manage devices.