Field and Button Descriptions
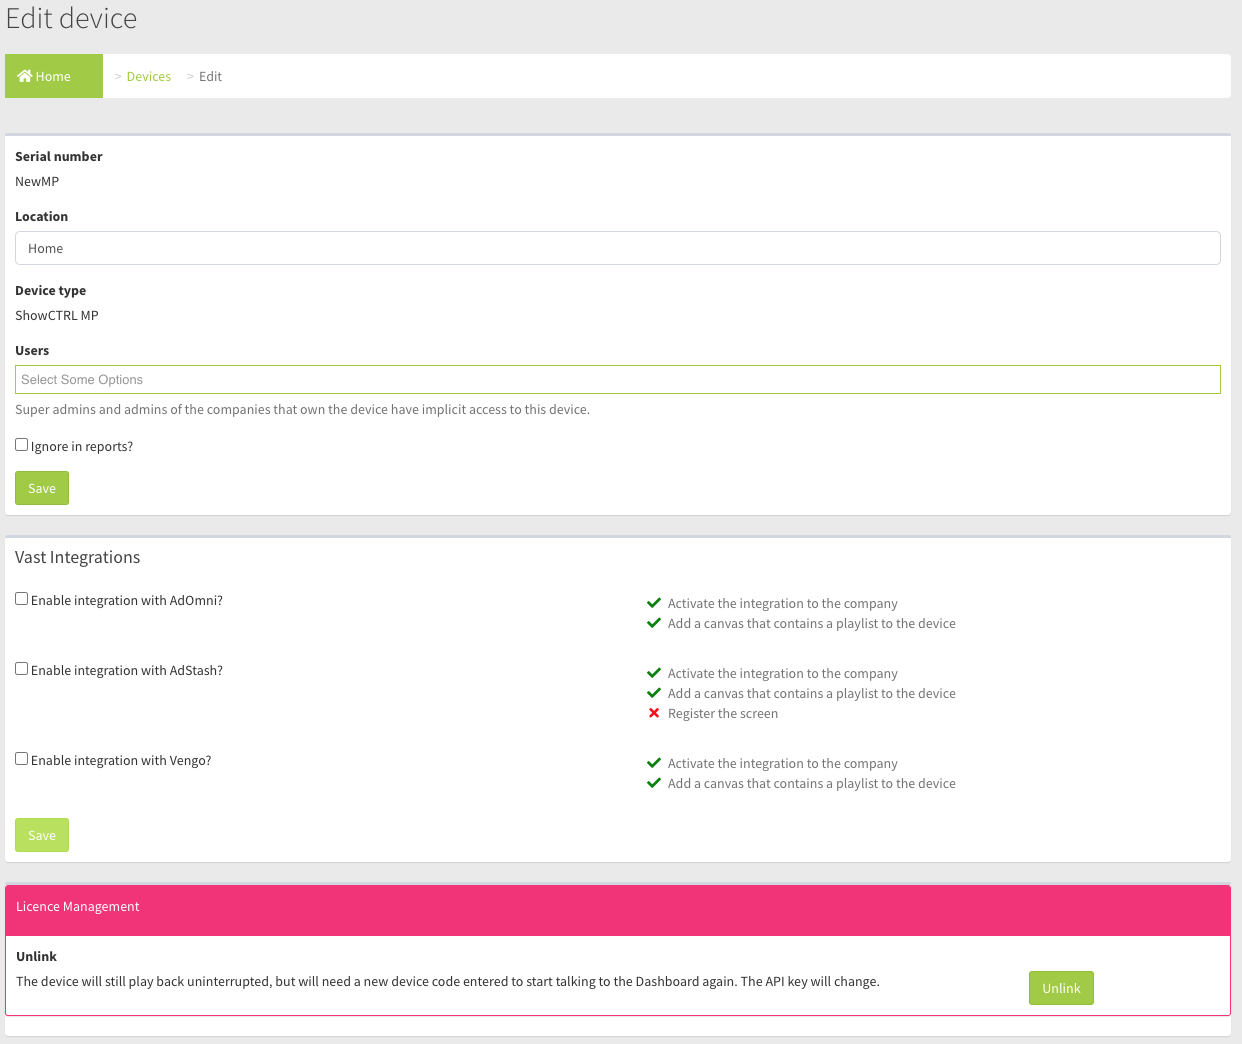
Serial Number
The serial number of the device. This is either a custom serial number, or randomly generated depending on your business needs at time of ordering the device.
Location
The location name is a quick user-readable way to identify where the device is physically located. This helps for narrowing down a device during technical support calls, or simply when you want to update content for a specific location.
Device Type
OmniAlly offers our custom LANCTRL device type for monitoring and controlling systems, as well as our ShowCTRL platform for media and interactivity playback. This will identify which device type it is.
Layouts
If you wish to limit the layouts on the Device Manage Page, then use this field to whitelist all layouts that are acceptable for this device. If you create new layouts that are meant for this device then you will have to add them in manually after creation.
If you want all layouts in your company to be visible or selectable on this device then leave it blank. The perk to this is that new layouts will automatically be added to the Device Manage page's "Layout" dropdown.
Users
"Regular User" and "Viewer" roles have no visibility over devices unless they are explicitly given in this field. Enter the name of the user that should have access to this device here in order to give them access.
Ignore in reports?
Checking this box allows this device to be ignored in the daily Device Status Report Page. This is useful if the device is used for testing, an office unit, or another low-impact device that doesn't reflect your typical digital signage operations.
VAST Integrations
This will tell the system to start synchronizing with your chosen VAST platform. For more information on the VAST integrations contact support@omnially.com
License Management
Unlink the device if you need to replace the unit and re-build it. This will allow the Device Manage Page to show the Link Code again.
Save
Once all changes are made you will need to press the Save button. Without selecting "Save" the changes will not take effect.