Donor List Widget Overview
Purpose
The donor list widget is for displaying the names and images of donors and sponsors.
Field and Button Descriptions
Name

A description of the widget. This is optional, but highly recommended as it will keep your Canvas cleaner and easier to navigate in the future as well as during build.
Position
![]()
The Position section is to identify where the top left of the widget will be positioned within the Canvas.
- X = Horizontal or Left/Right axis
- Y = Vertical or Up/Down axis
0x0 indicates a starting point of the top left of the selected widget at the top left of the Canvas.
Size
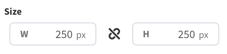
- W = Width of the widget (left/right)
- H = Height of the widget (up/down)
Negative Values
Negative values can be applied if you need to strategically allow a widget to go off-screen, but be aware that content outside of the Canvas boundaries don't appear on the display.
To apply negative values, write the number positively and then add the minus symbol afterwards
Rotation
Rotate the widget if desired. The number is the amount in degrees that you can rotate the widget.
Margin
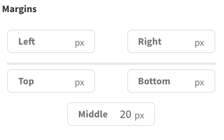
Sets the amount of padding between certain edges of the Donor List widget.
Left/Right/Top/Bottom
Sets how many pixels the text or images needs to stay away from the left or right ends of the widget boundaries.
Middle
Sets how many pixels the text or images needs to stay away from between the columns.
Note that setting padding for between the rows is dictated by the widget height and number of rows selected. More widget height and less rows means greater padding.
General Configuration
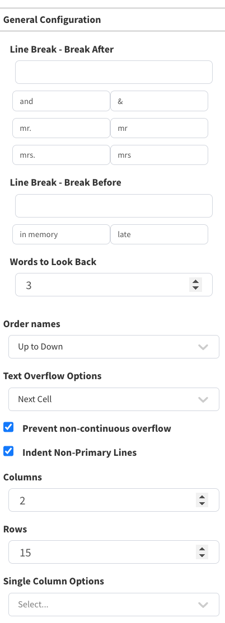
Line Break - Break After
Part of the Smart Indents feature that automatically creates a line break after the selected word if that line is organically going to go to a second (or more) line.
Line Break - Break Before
Part of the Smart Indents feature that automatically creates a line break before the selected word if that line is organically going to go to a second (or more) line.
Order Names
This sets which direction the names or images are listed.
Up to Down
Up to Down is the standard selection for text based lists. Line indents and line breaks work the best with this feature. Text will show like the below:
| Amanda | David | Hillary |
| Bobby | Farrah | Imad |
| Charlie | Germaine | Jillian |
Left to Right
Left to Right is useful for lists with long lines that don't fall to secondary lines ever, or for image-based lists. Text would show like the below:
| Amanda | Bobby | Charlie |
| David | Farrah | Germaine |
| Hillary | Imad | Jillian |
Words to Look Back
This links to the Smart Line Breaks feature to define how many words it should look back before stopping to look for a line break under the "before" or "after" word strings. Use the below examples to identify how this works:
Organic Overflow / No Smart Line Breaks
Walter S. and Lucienne Bell
Foundation
Smart Line Break Scenario 1
Words to Look Back: 4
Break Before: "and"
Walter S.
and Lucienne Bell Foundation
In this example you can see that it looks back 4 words from the end, finds the word "and" and breaks at the beginning of the word.
Smart Line Break Scenario 2
Words to Look Back: 3
Break Before: "and"
Walter S. and Lucienne Bell
Foundation
In this scenario you can see that it doesn't go back enough to find the "and", and so it treats it organically.
Prevent Non-Continuous Overflow
When names are long enough they go to a secondary (or more). In some scenarios those additional lines run from one column to the next or even one page of the list to another, making the name broken apart. This feature lets the names stay together.
Example w/o Preventing Non-Continuous Overflow
| Amanda | Charlie | Germaine |
| Bobby | Farrah | Hillary |
| The Honorable Judge | David | Imad |
Example w/ Preventing Non-Continuous Overflow
| Amanda | The Honorable Judge | David |
| Bobby | Charlie | Germaine |
| Farrah | Hillary |
Indent Non-Primary Lines
Automatically indents overflowed lines.
Example w/o Indent Non-Primary Lines
|
The Honorable Judge |
|
Charlie |
Example w/ Indent Non-Primary Lines
| The Honorable Judge |
| Charlie |
Columns
Sets the number of columns for the Donor List.
Row
Sets the number of rows for the Donor List.
Single Column Options (beta available on request)
When starting a donor list with few names that will be expected to grow over time, handling a single column of names that work differently than once they reach the 2nd column or page is possible.
Example:
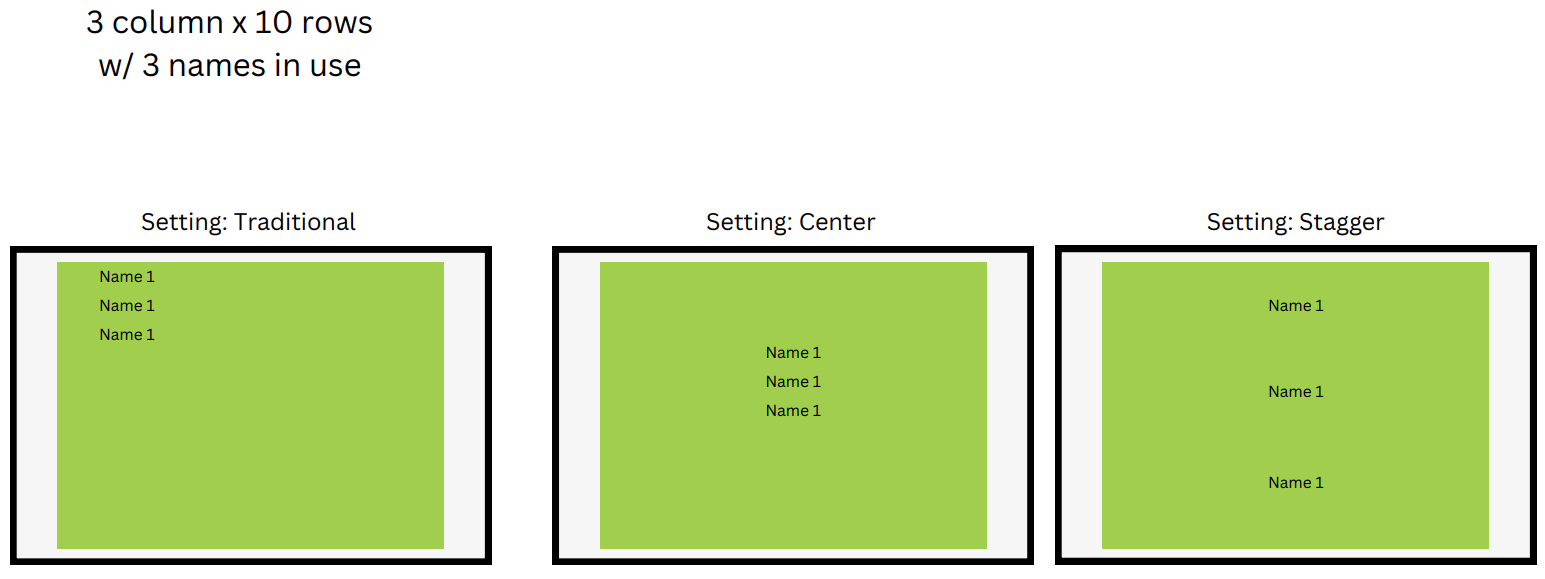
Traditional
Same as you normally would see where text starts at the top left and goes down using the column and row count strictly.
Center
Takes the names using the spacing that is user-set, but centers it horizontally and vertically within the widget.
Stagger
Spreads the names so that they evenly distribute across the widget vertically, and centers it horizontally.
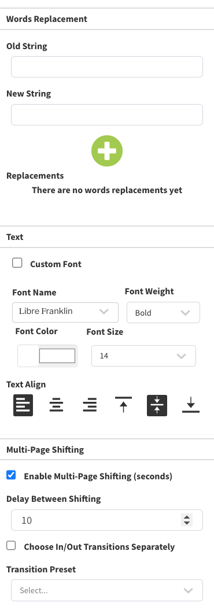
Text
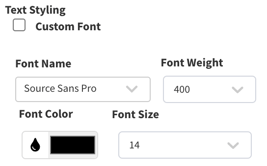
Custom Font
If you need to use a custom font:
- Click the "Custom Font" checkbox
- Upload a new font using the TTF file format
- In Font Name, select "Custom" from the top of the list
Font Name
All fonts are Google fonts, and can be found through the dropdown. For custom fonts or fonts that aren't listed, upload them using the Custom Font option.
Note that access to Google's font sites is required on the network for the font to apply correctly.
Font Weight
Choose how heavy the font is. Some fonts may not support certain weights, and custom fonts tend not to support this option, though some do.
Font Color
Use the color picker, the RGB, HSL or HEX value to define the exact font color.
Font Size
Select the font size from the list, or type in the font size you'd like to use.
Text Align
![]()
Choose between Left-Aligned, Centered, and Right-Aligned text.
![]()
Choose between Top-aligned, Centered, and Bottom-Aligned text.
Multi-Page Shifting
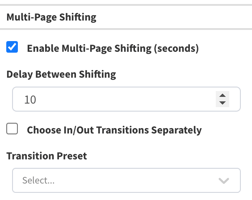
Enable Multi-Page Shifting (seconds)
Allows you to choose if you want the donor list to automatically rotate to the next page or not. Disabling this could mean that you have an interactive solution and want the user to move the page themselves instead of it moving on its own.
Delay Between Shifting
How many seconds the names stay on the screen for until moving to the next page.
Choose In/Out Transitions Separately
If you have a very specific transition sequence you want to use for the shifting of pages you can select this to define the Transition In (what transition the page uses when it comes up), and Transition Out (what transition the page uses when it comes down).
Transition Preset
Choose from a selective list of the most popular transitions.
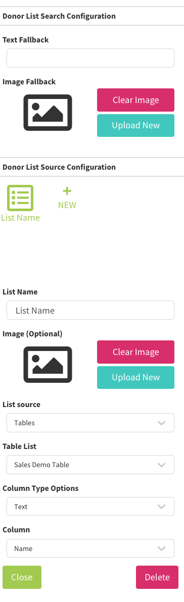
Donor List Search Configuration
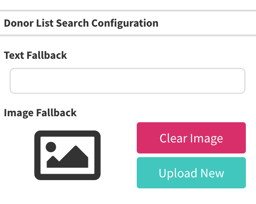
When there's text or images in the Data Flow Interactions that use variables from the Donor List then when the Search Feature is used those variables typically revert to a default. These fields let you define those fallback parameters.
Text Fallback
This will replace the value typically used for any text being pulled when the Donor Search feature is being used.
Image Fallback
This will replace the value typically used for any image being pulled when the Donor Search feature is being used.
Donor List Source Configuration
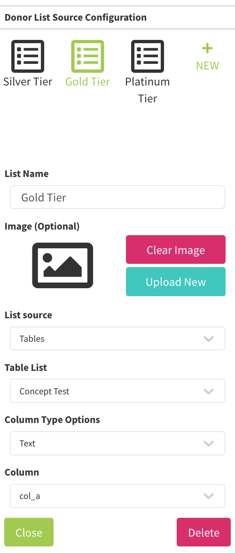
This section allows you to add multiple lists to a single Donor List widget. This way you can roll through your different giving tiers, and/or types of giving (Annual, Cumulative, etc).
Re-Ordering The Lists
Simply drag and drop the lists into the order that you want them to display.
New
Click this to add a new List See below for configuration information.
List Name
This is the name of the list. The value here is one that would be passed through the Data Flow Interactions as the ${source_name} variable. Also importantly use this to keep the lists easily organized for future use.
Image (Optional)
If you do intend to use the Data Flow Interactions to use a specific image during each specific List then add that image here.
List Source
Select where you want to pull the information from. Current options include:
- Donor Perfect
- Google Sheets
- Blackbaud Raiser's Edge NXT
- Tables (most common)
Donor Perfect
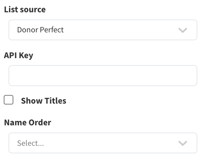
API Key
This is the API Key found from Donor Perfect. This is required for us to get the donor names from your system.
You can retrieve your API Key from your DonorPerfect Account Manager. Send your account manager an email requesting your API Key and they will send it to you shortly.
Show Titles
If you want titles (Mr / Mrs / Dr / etc) to appear, then select this option.
Name Order
Select what order you want them to be sorted by.
No Order = Displayed as Donor Perfect serves them. Often random.
First Name = Displayed alphabetically by first name.
Last Name = Displayed alphabetically by last name.
Donor Perfect Filter Configuration
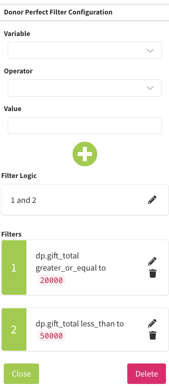
Donor Perfect doesn't have the ability to pull reports in through their API, and so we have to create filter parameters to define which donors you want attributed to each list. You can use tags, lifetime giving, or any other variable that Donor Perfect allows to search.
The above example shows a filter for finding those with a total gift size between 20,000 and 50,000 for the Gold tier.
Variable
Choose the variable that you want to be able to filter by. Using tags that denotes a person as belonging in a certain list is the most effective, but using other variables to define for you which meet certain requirements can be made.
The full descriptions of each variable can be found in more detail in the Donor Perfect API documentation.
Operator
The operator is the logic you want to compare the Variable to the value. For example, "equal", "less than or equal to", "not equal to", etc.
Value
The value that should be compared based on the variable and operator. Using the example picture above, we could look for gift totals greater than or equal to $20,000, where $20,000 is the value.
Note: Do not use commas or dollar signs in the value field.
For a full list of expected value formats for each variable refer to the Donor Perfect API documentation.
Spreadsheet
To use a list from a Google Sheet, make the spreadsheet public, and then paste the share URL into the Document URL.
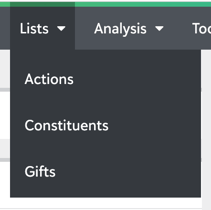
Raiser's Edge NXT
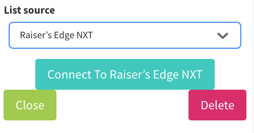
Connect to Raiser's Edge NXT
- The first thing you'll need to do is authorize the OmniAlly platform to access your account. Click the Connect to Raiser's Edge NXT button.
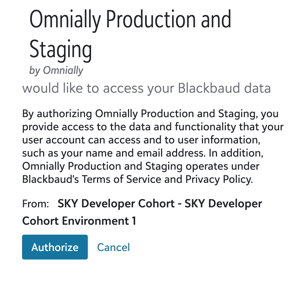
- A pop up will come up from Blackbaud asking you to sign in - use your typical login credentials. Multi-factor authentication may be required depending on your settings.
- It will then have a prompt that looks like the below image:
- Click Authorize
- Now it should look like this
- List Type is based on the Raiser's Edge NXT list type
- From here, select the Raiser's Edge NXT List that you want to synchronize with.
Tables
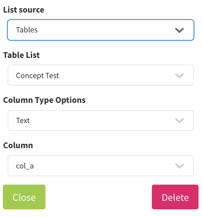
Tables are OmniAlly's proprietary solution to those who want something secure but don't have or want to use DonorPerfect or Raiser's Edge NXT integrations.
Table List
This is the Table that you want to use for this List. You can create new Tables by going back into the Dashboard, to Manage -> Tables and click "New Table". Once done you can come back into the Canvas to continue.
Column Type Options
You can choose whether the column you want to display is expecting an image or text.
Column
This is the column that you want to display in the Donor List widget. If you have multiple columns with name, picture, description, donation amount, etc, then you'll want to select the "Name" or the "Picture" appropriate column for this.
Fit Mode
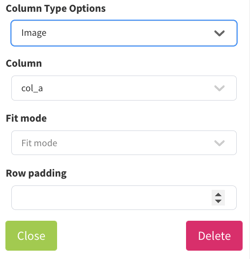
If you're using an Image based Column Type then you have two additional drop downs. The Fit Mode lets you decide if you want the image to Fill or Scale the image to size.
Fill Image will stretch the image to fill as much of its spot on the Donor List widget as possible.
Scale Image will maintain the image's original aspect ratio, making it as large as it can for the space, making it either the largest width or largest height to fill its space on the Donor List widget - whatever comes first.
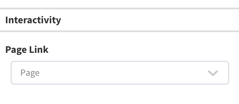
Interactivity